
How to Bake Soft Dinner Rolls in a Commercial Deck Oven
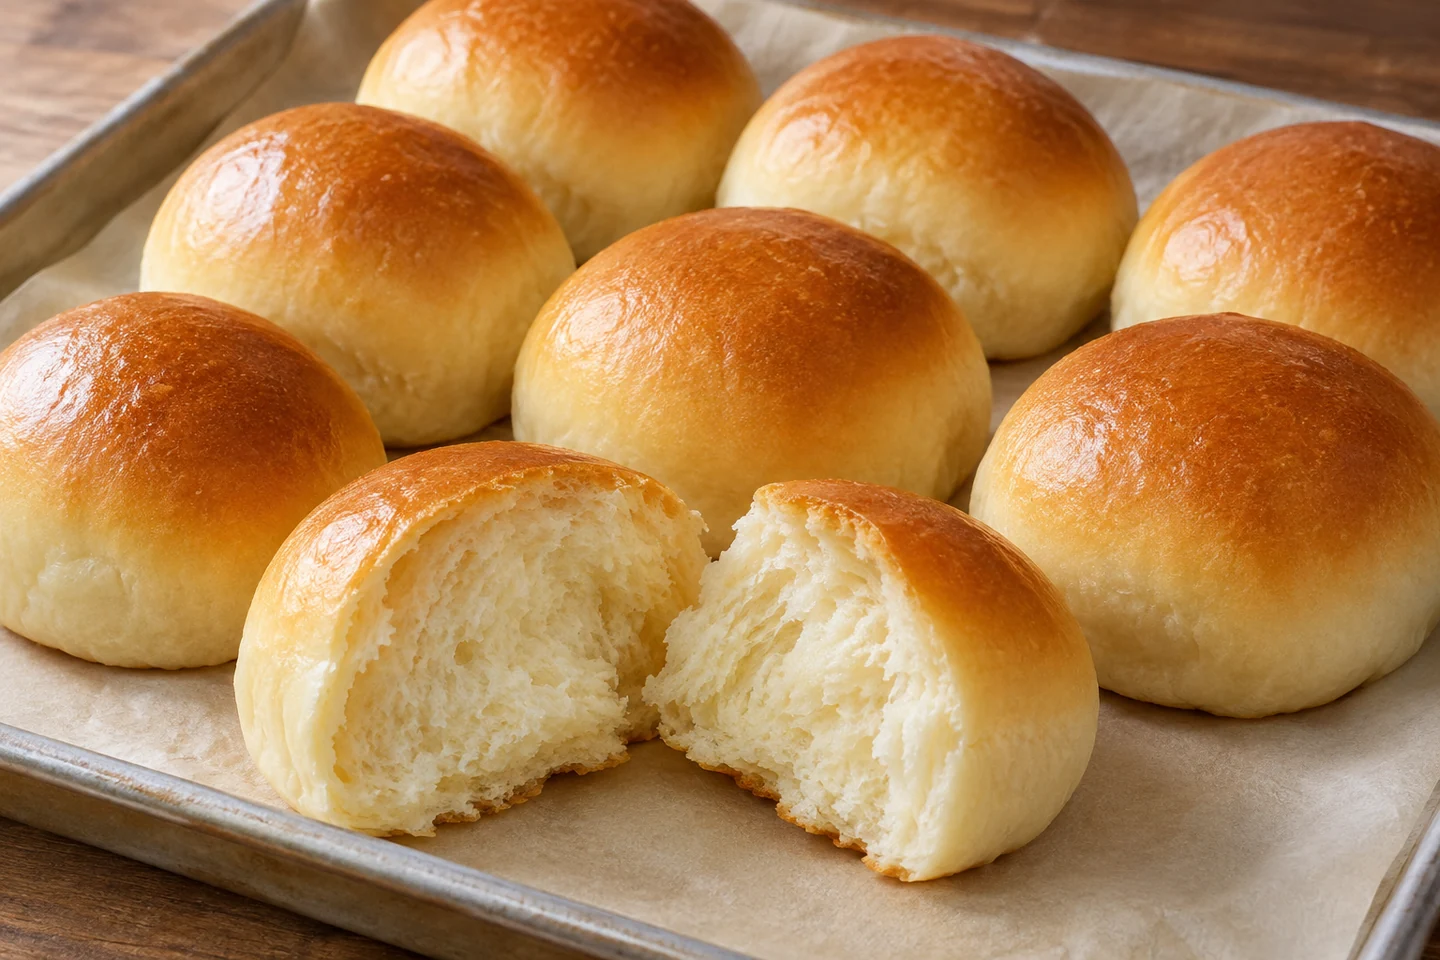
Bake milk-and-butter dinner rolls for restaurant bread baskets, bakery orders or holiday catering. Aim for evenly rounded rolls with a thin golden crust and a fine, fluffy crumb.
Soft milk-and-butter dinner rolls. AI illustration.
Batch formula for 48 rolls
Dough yield is 2,880 g before transfer losses. Divide into 48 pieces at a target 60 g each. Weigh the recovered dough before dividing. If any is left on the tools, divide the recovered weight by 48 for an even batch.
| Ingredient | Dough weight | Baker’s percentage |
|---|---|---|
| Bread flour | 1,500 g | 100% |
| Whole milk, lukewarm | 930 g | 62% |
| Water, lukewarm | 150 g | 10% |
| Unsalted butter, softened | 150 g | 10% |
| Granulated sugar | 102 g | 6.8% |
| Fine salt | 30 g | 2% |
| Instant yeast | 18 g | 1.2% |
| Total | 2,880 g | 192% |
For finishing, prepare another 48 g melted unsalted butter to brush lightly over the baked rolls. Keep it separate from the dough butter. Contains wheat and milk.
The planned layout is 24 rolls per tray in a 4 × 6 grid on two shallow 400 × 600 mm baking trays. Leave even gaps around the dough balls. Check the actual trays and their support in your oven before mixing. Set out a scale, dough scraper, tray liners, bowl or mixing machine suitable for this dough weight, independent oven thermometer, fine-tip food probe and cooling racks.
Why use the GRACE GR-102D?
El GRACE GR-102D electric deck oven has one chamber with a listed two-tray capacity and separate top and bottom heating controls. It suits this small bakery or restaurant batch by allowing the team to compare two tray positions in the same chamber.
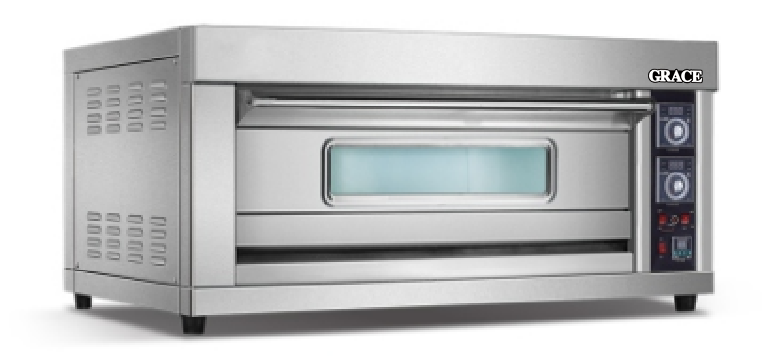
| Especificación | GR-102D |
|---|---|
| Configuración | 1 deck, 2 trays |
| Rated power | 6.6 kW |
| Listed supply configurations | 220 V / 380 V |
| Heating control | Separate top and bottom controls |
| Listed temperature limit | Up to 400°C |
For a one-tray production plan, the smaller GR-101D is listed at 4.4 kW. The GR-204D provides two decks and four tray positions at 13.2 kW for a larger plan. Choose by your actual tray fit, electrical installation and orders per shift. The GR-102D and GR-204D configurations can be checked in the GRACE bakery equipment specifications. Have your installer confirm voltage, phase, frequency and circuit requirements against the supplied unit’s nameplate.
Mix, ferment and shape
- Start the first equipment trial with a half batch. Halve every dough ingredient to make 1,440 g, or 24 rolls, and prepare 24 g finishing butter. Once the one-tray result is consistent, make the full formula to test two trays together. This keeps the second tray’s dough from waiting through the pilot bake.
- Develop the dough. Combine the flour, yeast, sugar and salt. Add the milk and water and mix until the flour is hydrated. Knead until the dough starts to become elastic, then work in the softened butter gradually. Continue until it is smooth and a small piece stretches into a thin film before tearing. Use the mixing machine within its permitted dough capacity, or knead by hand. Adjust liquid temperature on the next batch if the mixed dough is unusually warm or slow to ferment.
- Let the dough rise. Place in a lightly greased container and cover. Mark the starting level and let it expand to nearly twice its starting volume. Begin observing after about 45 minutes, then allow more time as needed. Follow the volume and feel of the dough through this stage.
- Divide and round. Gently press out the largest gas pockets. Weigh, divide and round each piece by bringing the edges to the underside, then cupping it against the worktop. Keep the surface intact and set each ball seam-side down in an evenly spaced 4 × 6 tray layout.
- Proof the shaped rolls. Cover without pressing on the tops and let them become visibly puffy. With a lightly floured finger, press one gently. The indentation should fill back slowly. Begin checking around 40 minutes and continue according to the dough’s response. Start the oven early enough to stabilize before the proof is complete. General fermentation and doneness principles are described in King Arthur Baking’s yeast baking guide.
Preheat and bake in the GR-102D
- Prepare the chamber. Check that the deck is clean, the door closes properly and the tray positions are clear. Switch the oven on and begin the trial at 175°C (347°F) top heat and 170°C (338°F) bottom heat. Verify temperature near tray height with an independent oven thermometer. Allow the chamber to stabilize before loading.
- Load gently and start timing. Remove the proofing cover and place the pilot tray in the planned position. Close the door promptly. For the later full-batch trial, load two matching trays side by side and use the same orientation each time.
- Check from 18 minutes. Look through the window first. Extend the bake in short intervals until the tops are evenly golden, the sides feel set and the bases are lightly browned. During the trial, check a roll at the center and one near each edge. A center reading around 88°C (190°F) is a useful doneness reference for soft rolls, alongside a set crumb. See King Arthur Baking’s dinner-roll doneness reference.
- Compare the two tray positions. In the full-batch trial, record each tray’s finish time and the color of its front, rear and center rolls. If a repeatable hot area appears, test a single tray turn after the rolls have set. Use that observed result to choose the next trial’s heat balance or tray movement.
- Finish and check the crumb. Brush the hot tops lightly with the reserved butter. As soon as the rolls can be handled without crushing, transfer them to cooling racks. Split a cooled sample to check for a fine, fluffy crumb with no gummy band at the base. Serve warm, or let the rolls cool completely before packing.
Record before setting a staff timer: dough weight, mixing endpoint, rise and proof observations, tray material and size, measured chamber temperature, top and bottom settings, finish time, color by position and crumb after cooling. The settings and first-check time above are trial starting points. The 48-roll yield is the recipe plan.
Common problems and adjustments
| Problem | Adjustment for the next batch |
|---|---|
| Dark bases before the tops are ready | Reduce the bottom setting in a small step and keep the tray type consistent. Record the effect before changing top heat as well. |
| Dense or uneven crumb | Check dough development, proofing and equal piece weights. A ball that springs back immediately when pressed needs more proofing before loading. |
| Flat or wrinkled rolls | Check for overproofing and confirm the centers were fully baked. Handle the hot rolls gently and cool with airflow around them. |
| Dry crust or crumb | Check the actual temperature and start checking earlier. Apply a light butter finish and pack only after cooling to preserve the intended texture. |
Clean after production
Switch the oven off and let the chamber cool. Follow the supplied instructions and site procedure for power isolation. Remove loose crumbs with suitable tools, wash the trays separately and wipe the door and seal with approved products. Keep water away from controls and electrical parts. Remove cleaning residue as directed and dry the oven before the next shift.